
How to install a donation terminal for your charity or business
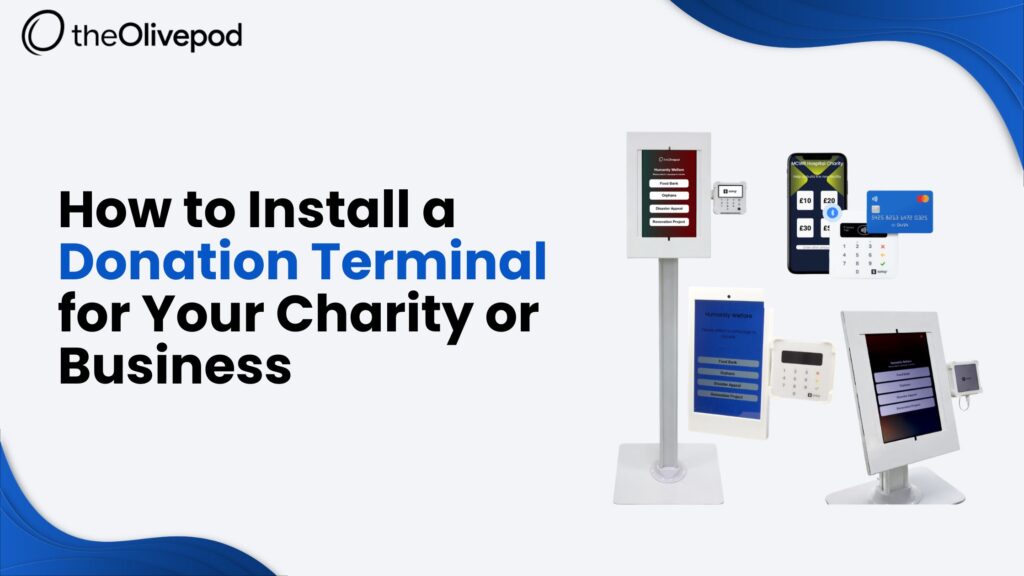
A donation terminal can be a valuable tool for nonprofit organisations and businesses looking to make fundraising easier. A donation terminal enables supporters to make fast and secure contactless donations using a variety of payment methods. Whether you are a charity, church, or community organisation, a donation terminal can help increase donations. In addition, it improves the donor experience. This complete guide will explain what you need to know about installing a donation terminal in your organisation.
What is a donation terminal? and why should your organisation have one?
A donation terminal is a payment device designed to accept donations through cards, mobile wallets, contactless payments, and QR codes. It works as a standalone unit that makes giving faster and easier.
Key Benefits Include:
- Higher donation amounts. Contactless payments often lead to larger average gifts
- Multiple payment options. Cards, wallets and QR codes are supported
- Real time tracking. Donations can be monitored instantly
- Improved security. Terminals follow PCI DSS standards to protect payment data
- Better donor experience. Fast and simple giving process
How to choose the right donation terminal for your needs?
Start by reviewing your organisation’s needs. Think about visitor numbers, donor type and budget. First, decide whether you need a fixed unit or something portable. Then, choose between mobile and fixed donation terminals based on where you plan to use them, such as events, gatherings, or permanent locations.
Hardware Options Available:
- Countertop terminals: Ideal for churches, reception areas, visitor centres and retail locations.
- Portable/mobile terminals: Ideal for events, street fundraising and on-the-go collection.
- If your company is a smaller organisation, tablet-based systems are an affordable option.
- Kiosk-style terminals: Self-service donation points that allow supporters to donate independently.
Cost Considerations
Donation terminal hardware costs typically range from £250 to £375, depending on the chosen mounting option (Desktop/Wall/Floor). Consider these expenses against the extra funds you can raise from donations. No VAT is normally charged if the devices are purely used for collection.
Why installing a donation terminal matters for your organisation?
Today, donors expect convenient ways to give. A donation terminal helps organisations meet donor expectations for convenience and accessibility. Furthermore, younger donors prefer cashless donations and value organisations that make giving simple.
As a result, a well-placed donation terminal can reduce barriers that prevent supporters from donating. It shows that your organisation is innovative, reliable and committed to accessibility.
Step-by-step guide: installing your donation terminal
Step 1: Select a Reputable Payment Processor
Choose a payment processor with experience supporting charities and nonprofit organisations. Examples include SumUp, Stripe, PayPal Giving Fund and other providers that support charitable organisations.
Additionally, some payment processors offer discounted transaction rates or special programmes for eligible charities. As a result, partnering with donation platforms can significantly reduce processing fees for select nonprofits.
Step 2: Purchase the Hardware
Once you’ve selected your processor, order the appropriate hardware. Make sure it’s compatible with your preferred donation platform/software and support all payment methods. Most of the providers provide plug-and-play solutions that hardly need any technical setup.
Step 3: Prepare Your Physical Location
Decide where your donation terminal will be placed. High-traffic areas near the entrance and/or exit are best. Make sure there are enough electrical outlets and reliable internet access (WiFi or cell phone backup recommended). It is highly recommended to add signage to engage with donors.
Step 4: Set up Payment Settings
Set predefined donation amounts (£5, £10, £25, £50 or custom)
Allow Gift Aid option (enhance your donations by 25%)
Configure email receipt options.
Step 5: Train Your Staff
Provide training on how to use the donation terminal, troubleshooting, and how these benefits are to donors. Confident staff are more likely to encourage donor engagement and successful use of the system.
Step 6: Test the System
Test a couple of transactions before going live. Ensure payments process correctly, receipts are generated properly, and donation data integrates with your reporting systems.
Key observations and real-world examples
Example 1: Faith-Based Organisations
Some churches report increases in giving after introducing contactless donation terminals. The convenience factor works very well when there are special events, campaigns or gatherings.
Example 2: Nonprofit Events
Community groups often find that portable donation terminals improve fundraising performance at events. This flexibility in payment options decreases the time needed to process donations and boosts participation.
Example 3: Retail Locations
Businesses supporting charitable causes have been effective in getting people to give, with the average donation per transaction amounting to approximately £10.
Summary: making your donation terminal installation successful
Setting up a donation terminal can be done with ease and offers full customisation/branding for your charity. The following are important things to keep in mind:
- Research carefully to find the processor and hardware that’s right for you
- Position the terminal in a visible, high-footfall area where supporters can easily access it.
- Customise settings to align with your organisation’s donation goals
- Train staff to ensure the system is used effectively.
- Track performance using built-in analytics.
- Monitor performance using built-in analytics and make adjustments to campaigns where needed.
Ensure technical support is available if issues arise.
Final thoughts
By offering a donation terminal, you are making an impactful investment in your organisation’s future. It’s not just about technology, it’s about honouring your donors’ wishes and eliminating the barriers to giving. With this guide, you can streamline the donation process and help your supporters and your organisation’s cause.
Forward-thinking nonprofits and organisations no longer have a choice but to accept payment in the modern way. Organisations that adopt modern donation technology are often better positioned to support long-term fundraising growth.
Looking to make a change in your fundraising? Check out the payment processors and platforms that offer best rates to nonprofits, explore your options and find a donation terminal that suits your organisation’s needs. Your donors will appreciate that you have made giving easier than ever!
Frequently Asked Questions
Q: How long does the actual installation take?
A: Most donation terminals can be set up within an hour once the hardware has arrived and payment processing has been approved. The configuration of the accounts takes 10-15 minutes, depending on the configuration.
Q: What if my internet connection is unreliable?
A: Select a donation terminal that has offline options and automatically synchronizes data when connected once again. Cellular backup is perfect for mobile terminals when WiFi connections are not available at all times.
Q: Does it cost anything extra to keep the terminal?
A: Most donation terminal solutions require monthly subscription fees (£10 to £50) and payment processing fees (usually the same as the credit card processor, or 1.1-2.5% for a nonprofit).
Q: Can we use one terminal for multiple locations?
A: This will depend on your system. Mobile donation terminal units are easily transportable. Desktop and Floor-standing units also offer some flexibility to move around when needed.